Welcome back my fellow etching enthusiasts!
In last week's thrilling installment, I told you about how I'd prepared my first plate for etching. This week, we plunge our unsuspecting plate into...
THE ACID BATH!!!
Okay, I promise to cease with the pulpy shenanigans, but really, I couldn't resist.
All right then. On Saturday I went back to the studio to pick up the dried plate. Using my trusty etching needle, I drew my skull into it. Compared to Plexiglas, hard ground is a wondrously soft surface that's far easier on the hands. After a couple of evenings, I had this:
 |
| Pre-dipped plates have a delightful silvery sheen to their lines. |
|
|
|
On Wednesday, my teacher set up the acid bath. Two tubs are always used. The first is filled with
nitric acid (for zinc, that is; the type of acid you use and the strength of it depends on the metal and the technique). The second one contains water to neutralize the plate afterwards.
To help me lower the plate into the acid more easily, I applied duct tape to the back of the plate, then folded the excess onto itself to create a handy tab. This allowed me to lower the plate in and out of the acid bath without having to actually touch the metal itself.
Into the acid we go!
 |
| Hanging out in the nitric acid. |
For line etching, the plate should remain in the bath for about 12 minutes. Bubbles tend to form during the process, so every few minutes you have to brush them away with a goose quill.
 |
| A little goose feather action. |
Basically what's happening is that the acid is eating into the lines I had drawn, but ONLY those lines. The hard ground protects the rest of the zinc plate from the acid's ravenous appetite. The process is known as
biting. Rest assured, I wore gloves and goggles the entire time.
After twelve minutes, I removed the plate from the acid and plunged it into the water to neutralize it. Once it was rinsed, I was able to clean off the hard ground using citrus solvent and wood shavings.
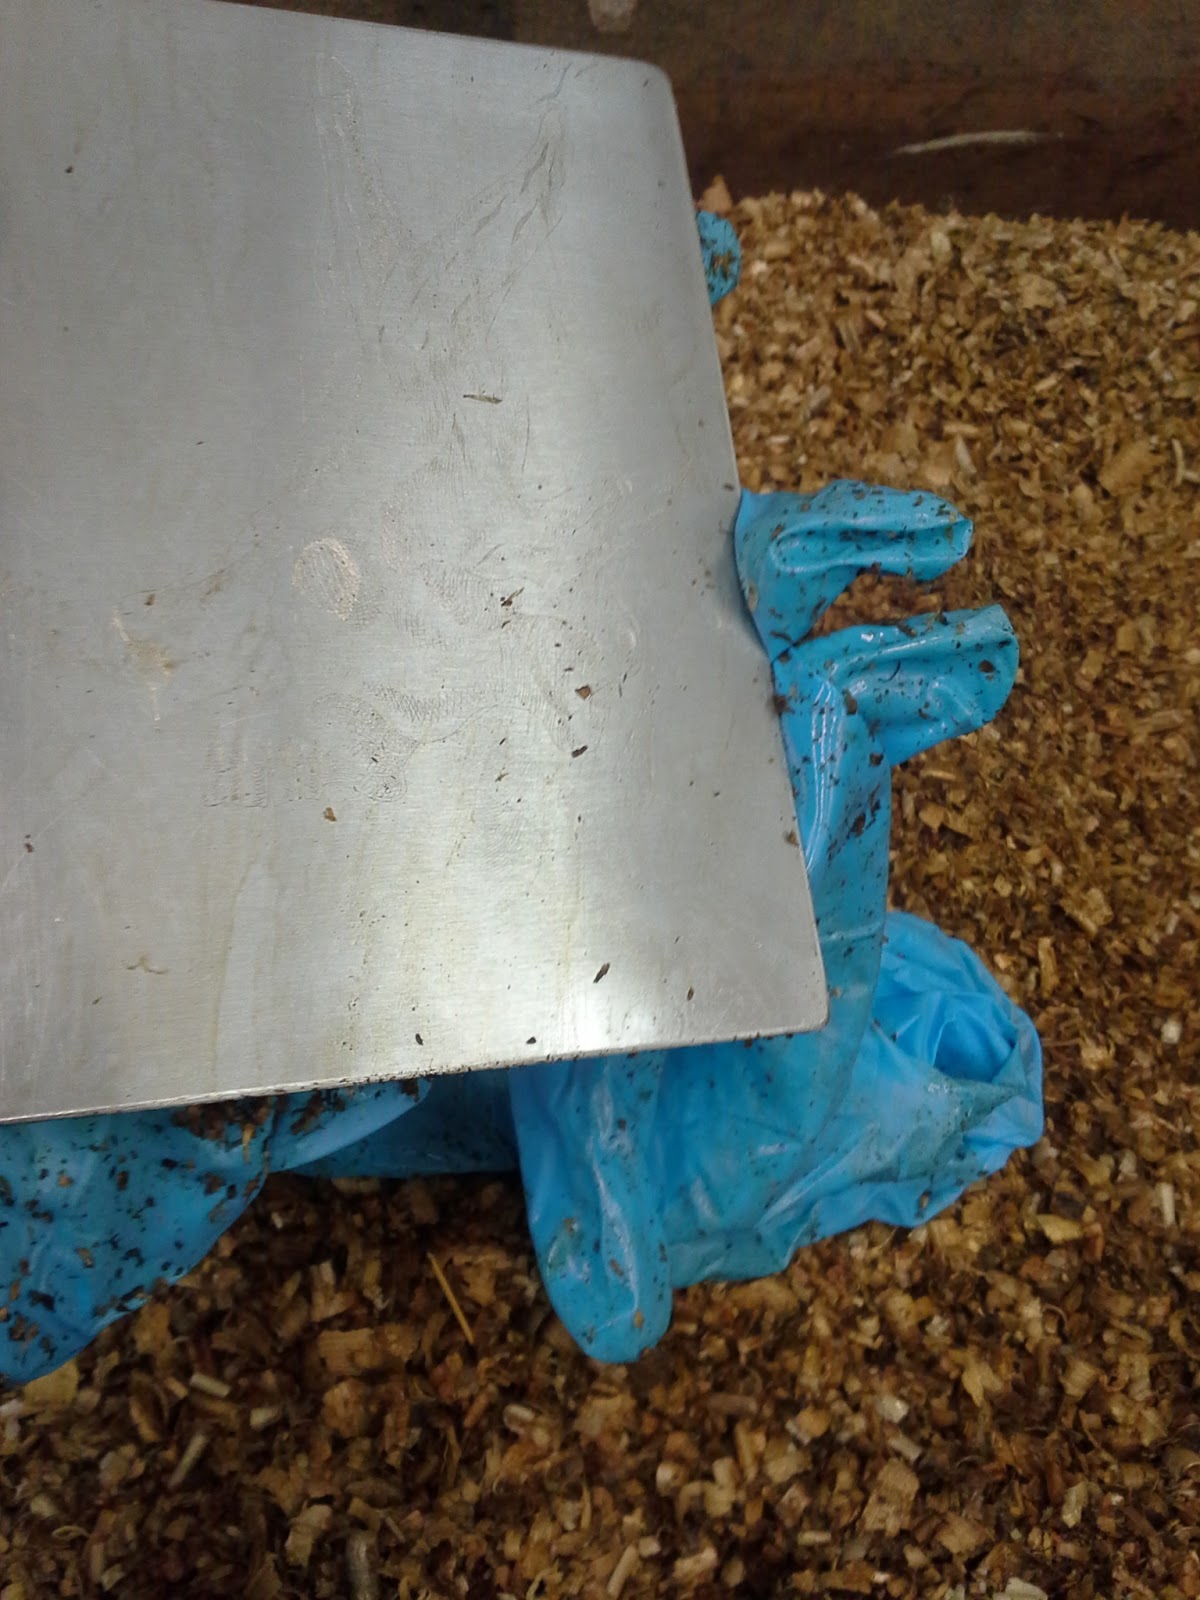
 |
| Wood shavings boxes are extremely effective for plate cleaning, and cut down on paper towel waste. |
Now that I had a clean plate, it was time to test it out.
 |
| My plate, all inked up and ready to go. |
|
Once I'd soaked a sheet of proofing paper and dried off the excess moisture, I ran the whole kit and kaboodle through the press. This is what I ended up getting:
 |
| My first real etching! |
I thought it looked a little light, so on Saturday I went back to the studio and tried printing it again with my
Akua intaglio ink. Here's the result:
Needless to say, I thought the second version was clearer and richer, and I was happy to know that even my lightest lines came through. I'll continue to work with my plate in the coming weeks, however, so the prints it yields it will only get richer in value and texture.
Next week we'll get into aquatint!


Comments
Post a Comment
Questions? Comments? Speak your mind here.