 |
| Image courtesy of https://commons.wikimedia.org/wiki/File:Pysanky2011.JPG |
Pysanky decorating involves drawing intricate patterns in beeswax on eggs, which are then dipped in various dyes. Once you know the process, it's actually pretty simple, it just takes time to create your beautiful patterns. The method I learned was pretty free form, and I liked being able to create my own designs and techniques. I decorated four different eggs over the course of the workshop, but for today's post, we'll follow the journey of the second one I finished.
Before you start decorating, make sure your eggs are at room temperature, otherwise you'll get unwanted condensation forming on the shell's surface as it warms up. If it's a store-bought egg, give it a quick bath in a vinegar solution (1 cup to 1 tablespoon vinegar) to get off any wax or other products. Don't keep it in for more than a couple of seconds, otherwise it'll start to dissolve the shell. If it's a farm egg you've gotten from a neighbor or one of your own chickens, you don't need to dip it in vinegar, though it is recommended you wait until it's about a week old before you use it.
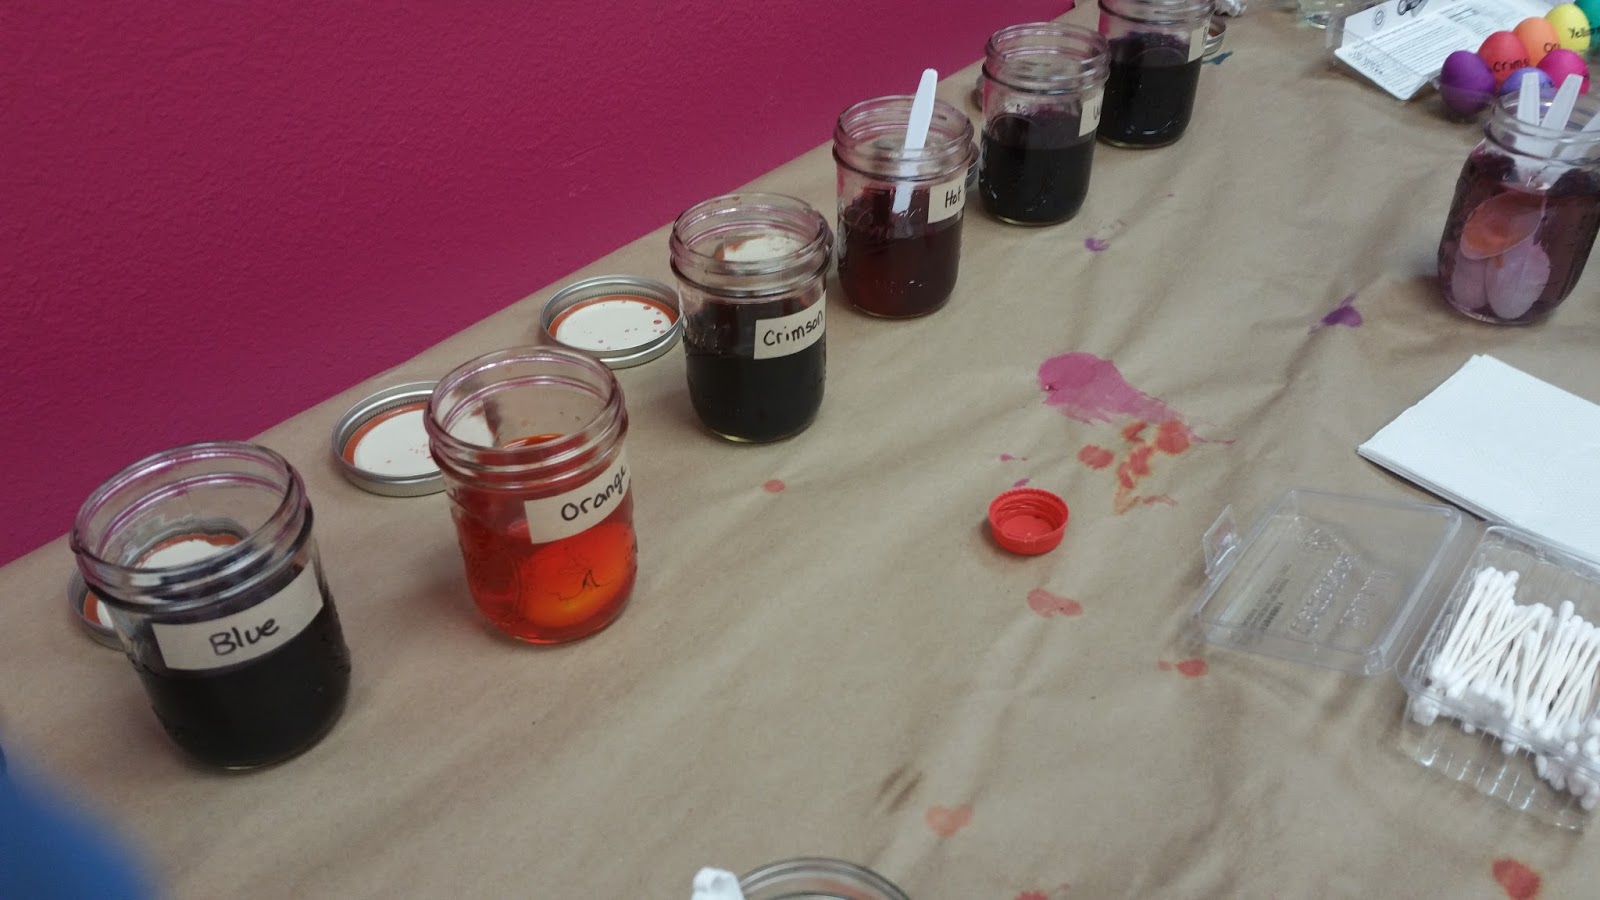
You can use a variety of colors for your eggs. We used about 3-4 different colors per egg, though you can do more. When decorating, you start with the lightest warm colors, such as yellow, and work your way down to the cool blues and greens.

You can start decorating directly on a white egg, but for this one, I decided to dip it in yellow dye first. I kept it in the dye for about two minutes. Being the first color, and a light one too, the egg doesn't need to stay in too long for it to take. Once you've taken out the egg, try blotting off the extra dye rather than wipe it, as that will help you retain more color. You'll also want to let the egg air dry for a few minutes.
As for patterns, there is a plethora of traditional designs out there you can use, all of them lovely and intricate, but I decided to use an iris pattern I'd created a few years ago for my ceramics.

When you're getting ready to make your design, sometimes it helps to draw in the basics with pencil. A clever way to bisect the egg is to wrap a rubber band around it and trace the lines. I didn't draw any lines on this particular egg, but instead added small dot on each side around the middle so that I would keep everything evenly spaced.

Now it's time to get your drawing tool. This is a kistka, though it goes by other names too, depending on the region we're talking about. It's essentially a stylus with a little metal funnel attached to the end of it. The open end of the funnel is where you put the wax. The tiny point is what you actually use to draw your designs.

To use the kistka, you need to heat it up first. There are electric ones out there, but we used the traditional method of warming it with a candle flame. Basically you put the kistka next the flame and gently move it back and forth. As it warms up, you scoop a little wax into it, and put it next to the candle again. As the wax melts, it drips down to the stylus point, rather like ink. This is the part that takes the most practice, as you don't want to get the wax so runny that it spatters everywhere. I recommend keeping a sheet of paper nearby to test it before you work on the egg.
Once the wax is melted, you can begin drawing your design. You'll need to regularly reheat the wax throughout this process, so make sure to keep the candle nearby.

The purpose of the wax is to preserve the egg colors as you decorate. Each time you dip the egg in a new color, the previous dye gets covered up, except for the areas covered in wax. On my egg then, the lines I just drew in will stay yellow once I dip it in a new color. It's pretty similar to reductive relief printing in that respect, except instead of subtractive it's additive in nature. Rather than carve away the parts of the block that you want to keep a certain color, you draw on lines. It also reminds me of using stop-out in aquatint, which preserves the areas it covers from further biting in the acid bath.


I let it sit longer than I had for the first dye, for about five minutes total. Once the egg was dried, I added more detail to the design:

From here, you repeat the process of drawing and dipping until you've added all the colors you've wanted.

For my third color, I chose red...

...and after I had drawn on it again I finished off the egg by dipping it in a rich, opaque black.

Once you're satisfied with your design, it's time to take off the wax. To do this via candlelight, you'll need to work in sections. Place the egg next the the candle, wait for the wax to become shiny as it melts, then wipe it off. This will take a little while, so be patient. The dyes themselves won't rub off, so don't be shy when it comes to buffing it. You also needn't be timid about the flame. If you put the egg right in the flame it will scorch it, but you can still get pretty close without singing the surface. The satisfying part about this is seeing how vivid the colors become.
You can use an oven too, but since I didn't try it myself, you can read about it here.

Now that you've taken off the wax, it's time to protect it with some shellac. We used a brush-on type, though I imagine you can spray it on too. If you want to remove the innards, drill a tiny hole on each end with a push pin or similar tool, and blow out the contents. You won't want to eat these eggs because they've absorbed some of the dye. Otherwise, just rotate the egg every couple of days, and eventually its innards will dry out. It's less likely to shatter if you remove the contents, but either way works.

Comments
Post a Comment
Questions? Comments? Speak your mind here.